At 4Dotnet we are in the proud possession of not one, but two HoloLenses! This week I got to grab one and play with it for a little while. After gaping at the incredible possibilities and the wonderful demo's that are available on it, the developer in me wanted to know it these was anything I could create for it. Being a Xamarin developer, I put one and one together and took it upon myself to see if I could create a UWP app, with Xamarin, which runs on a HoloLens. In this blogpost that is exactly what I will be doing. If you do not know what a HoloLens is, you can read up on it here. Basically, it lets you put holograms and screens in your room. They call it Mixed Reality. The possibilities seem endless and it is very much worth your time looking into it, this is what the future looks like!
Creating the project and run it
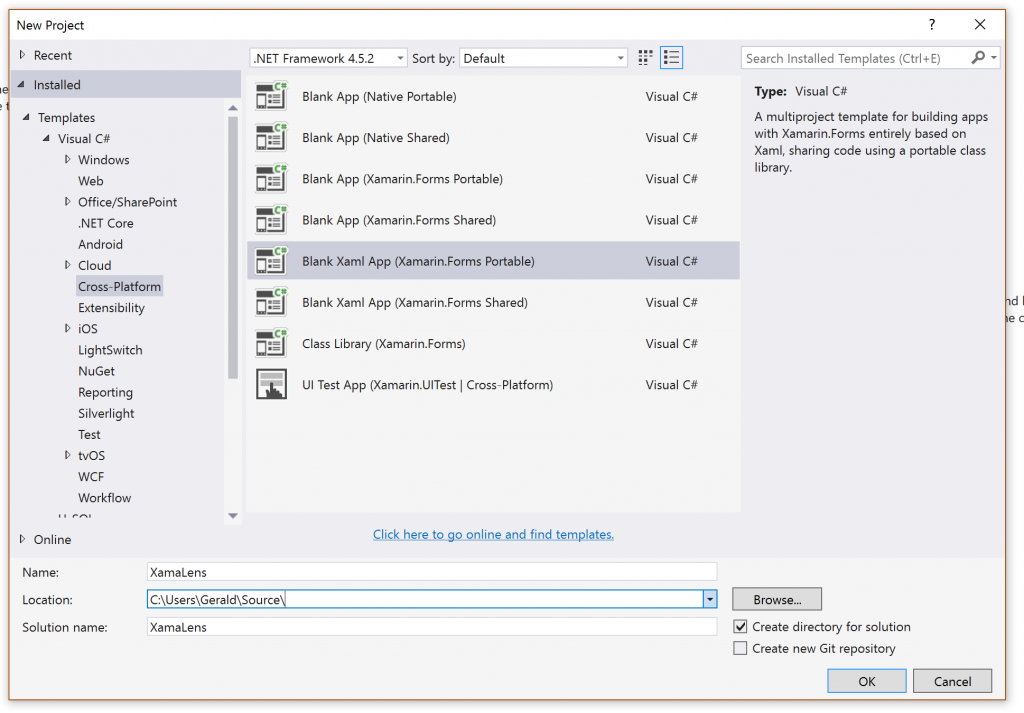
First things, first. Let's see if we can get any project to run at all and setup our development environment. Since it will be a 'normal' Xamarin app, I have my development environment up-and-running on that part already. To run on the HoloLens it should be a Universal Windows Platform app, and thus my starting point should be on Windows in Visual Studio instead of Xamarin Studio. From within Visual Studio I will just do a File > New Project and choose a Xamarin.Forms project, you can see it in the image below.
After it loads I will end up with a plain Xamarin.Forms solution with project for iOS, Android and a few Windows variants. Since Windows (Phone) 8.1 is not what I am after, I will delete the WinPhone and Windows projects. Just to make sure everything works right out-of-the-box I will run the iOS version. Like I had expected the iOS Simulator comes up and presents me with the plain white screen with a nice welcome message that Xamarin supplies by default. If you need a reminder of what it looks like, I have posted it below.

So far, so good! Now let's get crazy and try the UWP app directly on the HoloLens. To do this, we need to set the startup project to our UWP app, just right-click the project and choose Set as StartUp Project. When you do, in your debug toolbar you will see the 'play' button shift to Local Machine. While that is what we would normally do, we now want to connect to the HoloLens. It might be good to know at this point, that the HoloLens runs on Windows 10, just like all other modern Microsoft devices out there. Therefore, we can just connect to it as a Remote Device. Open the context menu by clicking the arrow next to the play button and select Remote Device. When you do, a screen will popup where we will have to configure where Visual Studio can find this device. The situation right now is shown in the image below.
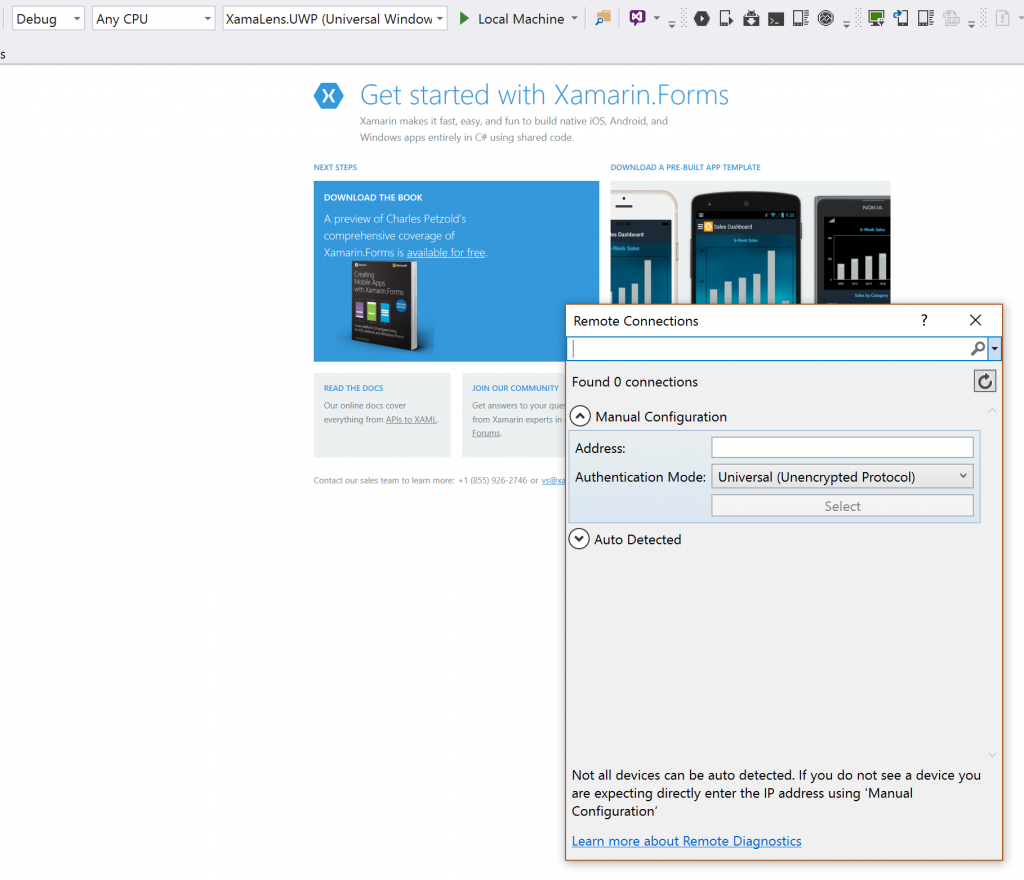
As you would've expected; Visual Studio needs a address for where to find our HoloLens. For this to work we need to make sure that the HoloLens and our development machine are connected to the same network. Or, if you are a network magian; they need to be able to reach one another. Connecting the HoloLens to a network should be pretty straight-forward, but I will show it to you anyway just because the videos look so cool. You can see it below.
My HoloLens is already connected to the network, else I won't be able to record. If it wasn't connected, this settings screen is where you would have to be. Just like you would under any other Windows 10 environment select the network. When it is connected, go into the Advanced Settings to view the IP address, that is what we are after.
Take this IP address and put it into the popup screen that is sitting in your Visual Studio. You can leave the rest of the settings as-is and just click the Select button after that. Do not get fooled by thinking the disappearing of the screen means everything it OK, it will only start connecting whenever you try to deploy your app. There is actually some more steps to take before we can actually run our app. If you haven't already done so, you have to enable the developer mode on your HoloLens. This is something I cannot show you, since the developer mode needs to be enabled to record videos. Go to the Settings screen like in the video above, but this time choose Update & Security. In the left-hand side of the screen, there is now a For developers section. Air tap on that (the snappy thing you do with your fingers to select something) and make sure Developer mode is switched to on. Accept the warning and also scroll down to enable the Device Portal. The latter isn't relevant to my story now, but it will allow you to navigate to the IP address we got earlier from a web browser and get some cool stuff from the HoloLens webportal. Including; recording videos! Back to my story. While in this screen, you will also see a Pair button. We don't have to touch it right now, but we need it in a minute. Go back to your Visual Studio, right-click the UWP project and find the Deploy option. When you click it (no air tapping this time) it will start building your app and try to deploy it to the remote device, being our HoloLens. After a while a screen will pop up, asking us for a PIN code. In the video below you will see this happen and how I pair the HoloLens to my development machine. To do this, again go into Update & Security, to the developer settings and click the Pair button. Floating in your room will be the PIN code that you have to enter into your Visual Studio. After you have done that correctly, deployment should continue and succeed.
Our Xamarin app is now on our HoloLens! Whoa! Let's find out if it runs just as well as on the iPhone Simulator. Go into your Start menu by making the Bloom gesture (handpalm up and from closed fingers to open) or, just for the fun of it say: 'Hey Cortana, go to Start'. Then find the icon of your app - which will be a cross - and start it. Air tap anywhere you want to place it. Hell yeah! There is our very first Xamarin.Forms app on the HoloLens floating around!
Expanding our app
Because I am a nice guy, you will probably take my word for it, but just because I am a nice guy, I will expand my app a little bit to prove to you that all the Xamarin.Forms magic just works. To make it more Xamarin-y, I went to James Montemagno's Monkeys sample GitHub page, and 'borrowed' some code. This will recreate the monkey list which I will now show on a HoloLens. This involves data-binding, a ListView, the whole shebang. I will spare you all the details, but the code I have used can be found on my GitHub page here. Now when I run it, I will be shown a list of monkeys! And I can even walk around them, pet them if I like and all of this with just Xamarin technology! Awesome!
Just for the heck of it I ran it on an iOS simulator again as well where it looks like this:

Xamarin.Forms Monkey Sample app on iOS
So what we have created now is an app which runs not only on your phones and tablets, but also on an actual HoloLens! Of course there is much more awesome stuff you can do by building some 3D holograms, etc. But still, it is very awesome to see that I can port all of my Xamarin apps to a device like this without any hassle. Again, the source code for this app can be found here: https://github.com/jfversluis/XamaLens-Sample/ although it will not be very exciting since it is just a Xamarin app. If you want a demonstration of the HoloLens or assistance on how to build apps for it, as well as building Xamarin apps, make sure to contact us at 4Dotnet!
.png?width=450&height=450&mode=crop)